Introduction to Apple Fritter Bread
Hey there, fellow home cooks! Are you ever in that situation where a craving hits, but you’re short on time? I totally get it. Life gets busy, right? That’s why I’m so excited to share this amazing **apple fritter bread** recipe with you. It’s like a little slice of heaven.
This recipe is a game-changer for busy weeknights. It’s also perfect for weekend brunches. You’ll love how simple it is. Plus, it tastes just like those yummy apple fritters. It’s truly a quick solution for a sweet treat.
You can impress your family and friends with this delicious bread. It’s so easy to whip up. You’ll find yourself making it again and again. Trust me, this **apple fritter bread** will become a staple.
Table of Contents
Why You’ll Love This Apple Fritter Bread
This **apple fritter bread** is a dream come true. It tastes like a cozy hug. You’ll adore its simplicity. It’s super quick to prepare. Your kitchen will smell amazing, too. It’s the perfect treat for any day.
This recipe brings pure joy. You get that classic fritter flavor. It’s much easier than frying. Plus, it’s a wonderful way to use up apples. You’ll feel like a baking star.
Ingredients for Delicious Apple Fritter Bread
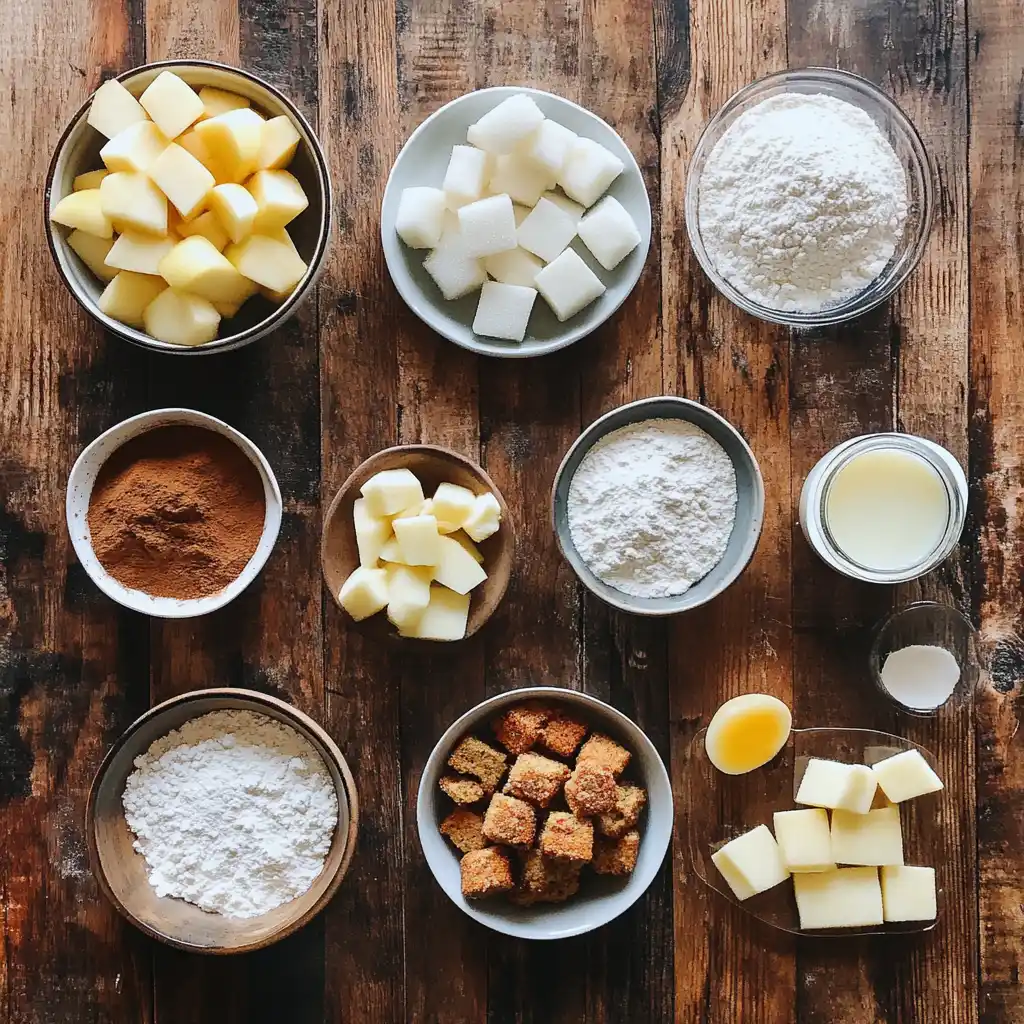
Gathering your ingredients is a breeze for this delightful **apple fritter bread**. You’ll find most of these pantry staples already at home. I always love that feeling of making something special with what I have. Remember, all the precise measurements are conveniently listed at the bottom for easy printing.
Dry Ingredients
You’ll need all-purpose flour for structure. Baking powder gives our bread its lovely lift. A touch of salt balances the sweetness. We’ll also add cinnamon and nutmeg for that warm, comforting spice. These spices are like a cozy blanket for your taste buds.
Wet Ingredients
Milk adds moisture to the batter. Granulated sugar provides sweetness. Melted butter makes the bread tender and rich. A large egg binds everything together beautifully. And of course, vanilla extract adds that classic, irresistible aroma. It’s the little things that make a big difference.
The Star: Apples
For the best flavor and texture, I recommend firm apples. Think Honeycrisp or Gala. Their slight tartness cuts through the sweetness. Make sure they’re chopped into small, even pieces. This ensures apple goodness in every bite. It’s like finding little treasures.
For the Sweet Glaze
A simple glaze finishes this **apple fritter bread** perfectly. Powdered sugar creates a smooth, sweet topping. A little milk thins it out. More vanilla extract adds an extra burst of fragrance. It’s the crowning glory, really.
How to Make Apple Fritter Bread
Let’s get baking! Making this delicious **apple fritter bread** is easier than you think. I’ll walk you through each step. You’ll have a warm, fragrant loaf in no time. Follow along, and let’s create some baking magic together.
Step 1: Prepare Your Oven and Pan
First, preheat your oven. Set it to 350°F (175°C). This ensures it’s ready when your batter is. Next, grab a 9×5 inch loaf pan. Grease and flour it well. This prevents your bread from sticking. A good prep makes for a smooth baking process.
Step 2: Combine the Wet Ingredients
Grab a large bowl. Pour in your milk. Add the granulated sugar and melted butter. Crack in one large egg. Then, add the vanilla extract. Whisk everything together until it’s smooth. This forms the base of your batter. It smells wonderful already!
Step 3: Mix the Dry Ingredients
In a separate bowl, combine your dry ingredients. Add the all-purpose flour. Sprinkle in the baking powder. Add the salt, cinnamon, and nutmeg. Whisk these together. This distributes the leavening and spices evenly. Uniformity is key here.
Step 4: Gently Combine Wet and Dry for the Apple Fritter Bread Batter
Now, slowly add the dry mixture to the wet ingredients. Mix them gently. Stop when they are just combined. Don’t overmix the batter. Overmixing makes the bread tough. We want a tender, delightful **apple fritter bread**. A few lumps are perfectly fine.
Step 5: Fold in the Apples
Gently fold in your chopped apples. Use a spatula for this. Be careful not to crush the apples. You want distinct apple pieces. This step adds delightful bursts of flavor. It’s like little surprises in every slice.
Step 6: Pour and Spread the Batter
Pour the batter into your prepared loaf pan. Spread it out evenly. Use your spatula to smooth the top. This helps the bread bake evenly. Ensure it fills the pan nicely. It should look tempting already.
Step 7: Baking Your Apple Fritter Bread to Perfection
Place the pan in your preheated oven. Bake for about 45-55 minutes. You’ll know it’s done when a toothpick comes out clean. This simple test is your baking guarantee. It’s almost ready to enjoy! This **apple bread** smells divine.
Step 8: Cooling the Bread
Once baked, let the bread cool in the pan. Do this for about 10 minutes. Then, carefully transfer it to a wire rack. Let it cool completely. Patience is crucial here. A warm loaf is harder to glaze. It also prevents the glaze from melting too much.
Step 9: Crafting the Perfect Glaze
While the bread cools, make the glaze. In a small bowl, whisk the powdered sugar. Add 2 tablespoons of milk. Stir in the vanilla extract. Keep whisking until smooth. Add more milk, a teaspoon at a time. Do this until you get your desired consistency. A thick glaze is lovely.
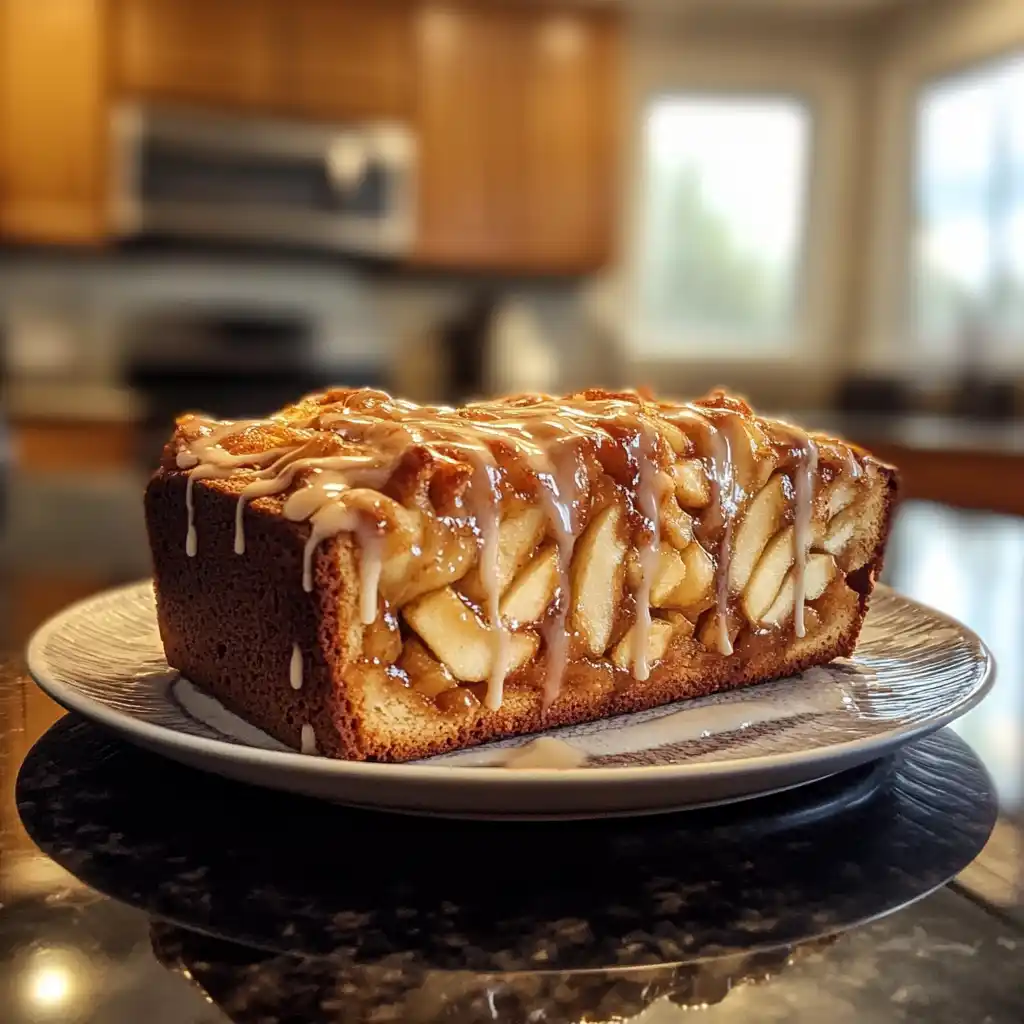
Step 10: Glazing Your Masterpiece
Once your **apple fritter bread** is totally cool, it’s time to glaze. Drizzle the sweet glaze over the top. Let it drip down the sides. This adds the final touch of sweetness. It makes your bread look as good as it tastes. Enjoy this easy baking success!
Here are a few tricks I’ve learned.
They help make your apple fritter bread amazing.
- Use firm apples for great texture.
- Chop apples uniformly.
- Don’t overmix the batter.
- Adjust glaze sweetness.
- Let the bread cool fully.
Equipment Needed for Apple Fritter Bread
You don’t need fancy gadgets.
Just a few kitchen basics will do.
- A 9×5 inch loaf pan is essential.
- Mixing bowls are a must-have.
- A whisk and spatula are your friends.
- A wire rack helps with cooling.
- Measuring cups and spoons are key.
Delicious Variations for Your Apple Fritter Bread
This recipe is a fantastic base.
You can easily customize it.
- Add a handful of chopped pecans or walnuts.
- Stir in a teaspoon of lemon zest for brightness.
- Swap half the flour for whole wheat for a nuttier flavor.
- For a richer bread, use buttermilk instead of milk.
- Try adding a pinch of ground ginger or cardamom with the cinnamon.
Serving Suggestions for Apple Fritter Bread
This delightful bread is wonderful on its own.
It also pairs nicely with these ideas.
- Serve warm with a dollop of whipped cream.
- Enjoy with a steaming mug of coffee or tea.
- A scoop of vanilla ice cream makes it a dessert.
- Pair with a side of fresh fruit salad.
- Offer it at your next brunch gathering.
FAQs about Apple Fritter Bread
Got questions about this yummy apple fritter bread?
I’ve got answers for you right here.
Can I use different types of apples in this apple fritter bread?
Absolutely! While Honeycrisp and Gala are my top picks, feel free to experiment.
Other great choices include Fuji, Braeburn, or even Granny Smith for a tangier bite.
How long does apple fritter bread last?
This delicious bread is best enjoyed fresh.
It usually keeps well for about 2-3 days at room temperature.
Can I make this recipe gluten-free?
Yes, you can adapt this recipe!
Substitute a good quality gluten-free all-purpose flour blend for the regular flour.
What’s the best way to store leftover apple fritter bread?
Store any leftover bread in an airtight container.
Keep it at room temperature for a few days, or refrigerate for longer storage.
Final Thoughts on Apple Fritter Bread
There you have it, my friends! This **apple fritter bread** is more than just a recipe. It’s a little bit of comfort in every slice. It’s that warm, spiced hug on a chilly morning. It’s also that perfect sweet treat after dinner.
I truly believe this **apple fritter bread** brings a little joy. It’s simple to make. It tastes incredible. It fills your home with a wonderful aroma. It’s proof that deliciousness doesn’t need to be complicated.
So go ahead, give it a try! Bake it for your family. Share it with a friend. Or, just savor a slice all to yourself. You deserve it, and this bread is the perfect way to celebrate those everyday moments. Happy baking!
PrintApple Fritter Bread: Your New Favorite Treat!
- Total Time: 1 hour 10 minutes
- Yield: 1 loaf 1x
- Diet: Vegetarian
Description
A delicious and easy-to-make bread that tastes just like your favorite apple fritter.
Ingredients
- 1 cup (240ml) milk
- 1/2 cup (100g) granulated sugar
- 1/4 cup (57g) unsalted butter, melted
- 1 large egg
- 1 teaspoon vanilla extract
- 2 1/2 cups (300g) all-purpose flour
- 2 teaspoons baking powder
- 1/2 teaspoon salt
- 1 teaspoon ground cinnamon
- 1/4 teaspoon ground nutmeg
- 1 cup (150g) chopped apples (Honeycrisp or Gala recommended)
- For the Glaze:
- 1 cup (120g) powdered sugar
- 2–3 tablespoons milk
- 1/2 teaspoon vanilla extract
Instructions
- Preheat oven to 350°F (175°C). Grease and flour a 9×5 inch loaf pan.
- In a large bowl, whisk together milk, granulated sugar, melted butter, egg, and vanilla extract.
- In a separate bowl, whisk together flour, baking powder, salt, cinnamon, and nutmeg.
- Gradually add the dry ingredients to the wet ingredients, mixing until just combined. Do not overmix.
- Gently fold in the chopped apples.
- Pour the batter into the prepared loaf pan and spread evenly.
- Bake for 45-55 minutes, or until a toothpick inserted into the center comes out clean.
- Let the bread cool in the pan for 10 minutes before transferring it to a wire rack to cool completely.
- While the bread is cooling, prepare the glaze. In a small bowl, whisk together powdered sugar, milk, and vanilla extract until smooth. Add more milk if needed to reach desired consistency.
- Once the bread has cooled completely, drizzle the glaze over the top.
Notes
- Using firm, slightly tart apples like Honeycrisp or Gala will give the best texture and flavor.
- Ensure your apples are chopped into small, uniform pieces for even distribution.
- Do not overmix the batter after adding the dry ingredients, as this can result in a tough bread.
- The glaze can be adjusted to your preference; add more powdered sugar for a thicker glaze or more milk for a thinner one.
- Prep Time: 20 minutes
- Cook Time: 50 minutes
- Category: Bread
- Method: Baking
- Cuisine: American
Nutrition
- Serving Size: 1 slice
- Calories: Estimated 300-350 kcal (will vary based on exact ingredients and portion size)
- Sugar: Estimated 30-40g
- Sodium: Estimated 200-300mg
- Fat: Estimated 10-15g
- Saturated Fat: Estimated 5-8g
- Unsaturated Fat: Estimated 5-7g
- Trans Fat: 0g
- Carbohydrates: Estimated 50-60g
- Fiber: Estimated 2-3g
- Protein: Estimated 4-6g
- Cholesterol: Estimated 30-50mg